Pages

Showing posts with label Chocolate. Show all posts

Tuesday, 1 July 2014

Salted Peanut Butter Brownie


I love peanut butter and chocolate, putting the two together is a baked piece of heaven! So, when I found this recipe I was thrilled. I added even more cocoa then is listed below to make it that much richer, and it really added to the contrast of the peanut butter and chocolate.

If you love either of those two things, and a rich dessert, this recipe is the way to go.


Brownie:
10 tablespoons (1 1/4 sticks) butter
1 cup sugar
3/4 cup plus 2 tablespoons unsweetened cocoa powder (natural or Dutch-process)
1/4 teaspoon salt
1/2 teaspoon pure vanilla extract
2 cold large eggs
1/2 cup all-purpose flour
Prepare an 8 inch square pan by spraying with pan spray. Line the bottom and sides of the baking pan with parchment paper or foil, leaving an overhang on two opposite sides. Spray the foil or parchment with pan spray.
Preheat your oven to 325.
Combine the butter, sugar, cocoa, and salt in a heat-proof bowl and place over a large pot of simmering water. The bottom of the bowl should rest in the pot but not touch the water.
Stir occasionally. When the butter is just about melted, remove the bowl and let the residual heat continue to melt the butter. Stir until smooth. Carefully touch the cocoa mixture. It should feel warm, not hot. (If hot, wait until warm to add the eggs).
Once the cocoa mixture is warm you can stir in the eggs, one at a time. Wait until each egg is completely incorporated before you add the next. Stir in the vanilla. Once the mixture looks cohesive and shiny stir in the flour. (Stir 40 times after the flour has been completely incorporated).
Spread the batter evenly into the prepared pan and bake until a toothpick inserted in the middle comes up with a few moist crumbs. This will take about 20-25 minutes. Let cool completely on a wire rack.
Once cool, frost with peanut butter frosting and sprinkle with flake salt.

Peanut Butter Frosting:
6 Tablespoons (3/4 stick) softened butter
¾ cup peanut butter
1 cup powdered sugar
pinch salt 
1 teaspoon flake salt
Cream the butter and the peanut butter until combined. Slowly stir in the powdered sugar until completely incorporated. Spread over cooled brownies. Sprinkle the flake salt all over.

Adapted from here

Monday, 17 March 2014

Healthy Chia Seed Chocolate Pudding (no seed lumps)


I had to be on a very restricted diet, for health reasons, a while back and couldn't find a receipt that fit my needs. I searched through a ton, never found something I liked, and finally just played around until I got it just the way I like it.

I wish I would have written this all out sooner so I apologize if you don't get perfect results but seriously, this stuff is amazing! In fact, I think I might make it again right now!


You will need: 

1 can coconut milk

1/2 cup cocoa (you might want to add more, I usually do)

Coconut Sugar - to taste (I started with 1/4 cup. You could use any sweetener of your choice but I liked this because it 1) Fit within my diet and 2) It helped thicken)

1/4 cup chia seed (I'll be honest, I didn't measure so it could have been a bit more! Play around :)


Throw it all in your Vitamix and blend away.

I have a Vitamix so it shreds the seeds amazingly well. Some blenders wouldn't cut the seeds so you will end up with little seed crunches (which I don't like).

If you have trouble with this try putting the coconut milk in first, then the seeds, let it sit for 10 minutes and then blend.

The mixture will be runny but pore it in a bowl and it should set (as the seeds absorb the liquid).


If you google "Chai Seed Pudding" it won't look anything like this but this is how mine looks and I wouldn't go back to dairy pudding after this! No way! 

Saturday, 14 September 2013

Flour-less Chocolate Cake

Photo Source

So far this is the best flour-less chocolate cake I have found! It tastes amazing and is super moist and rich (I added more cocoa). I give it a 9 out of 10 (only because maybe there is still something better out there that I haven't found) 

Prep Time: 20 minutes

Cook Time: 25 minutes

Total Time: 45 minutes

Ingredients:

  • 6 1-ounce squares coarsely chopped semisweet chocolate
  • 1/2 cup (1 stick) unsalted butter
  • 3/4 cup sugar
  • 3 large eggs
  • 1/2 cup cocoa
  • 1/4 teaspoon salt
  • 1 teaspoon vanilla
  • For Glaze:
  • 2 1-ounce squares coarsely chopped semisweet chocolate squares
  • 1 1/2 tablespoons unsalted butter
  • 1 1/2 teaspoon milk OR light coconut milk
  • 1 1/2 teaspoons Agave syrup OR honey
  • 1/8 teaspoon vanilla

Preparation:

Preheat oven to 350°F

Spray a 7-inch tart pan with removable bottom with cooking spray. If you don't have a tart pan, use a 6 to 7-inch springform pan. Line the bottom of the pan with parchment paper and spray the paper.

  1. Melt 6 ounces of chopped chocolate and butter in a heavy saucepan over medium low heat. Stir until chocolate and butter are melted and smooth.
  2. Add sugar and salt and reduce heat to low. Cook while stirring for about one minute, until sugar starts to dissolve.
  3. Remove pan from heat. Whisk in eggs, one at a time. The mixture will look smooth and glossy.
  4. Use a mesh hand sieve to sift cocoa into mixture. This prevents lumps. Whisk until the cake batter is smooth.
  5. Pour batter into prepared pan and bake in preheated oven for about 25 minutes. The center of the cake should be just firm to the touch, but be careful to not overbake the cake or it will be dry.
  6. Cool in the pan on a wire rack for 15 minutes. Invert the cake on a plate.
  7. To prepare the glaze, melt 2 ounces of chopped chocolate and 1 1/2 tablespoons of unsalted butter in the same saucepan you used to make the cake. When melted and smooth, remove the pan from heat. Add milk and Agave syrup OR honey and vanilla and stir until smooth and glossy. Let the glaze cool for about 3 minutes before pouring it on the cake.
  8. Pour all of the glaze in the middle of the cake. Use a silicone or rubber spatula to spread the glaze evenly over the cake, allowing the glaze to evenly run down the sides of the cake.

    Serves 6

Sunday, 17 March 2013

Milk Chocolate Covered Raspberry Jellies

Don't these look delish? They're like Big Turks right? I can't wait to try out this recipe! Check out over at Making Memories with your Kids

Wednesday, 2 January 2013

Nanaimo Bars

 I love this recipe! I tried a long time ago to make Nanaimo Bars and it did not go well. It's one of my favorite desserts so I just needed to figure it out. I'm excited because it turned out perfect. Marshall said it was amazing, just like the store bought one but more "real tasting". It makes me happy because my baking skills have gotten to a point where I wonder why this was ever a challenge for me before.  I think it's time to move up to some more complicated things!


Ingredients:
1 cup  graham cracker crumbs
1/2 cup  sweetned flaked coconut or shredded coconut
1/3 cup finely chopped walnut halves
 1/3 cup  cocoa powder
1/4 cup granulated sugar
1/3 cup butter, melted
1 egg, lightly beaten

Filling:
 1/4 cup butter
 2 tbsp vanilla pudding powder
1/2 tsp (2 mL) vanilla
 2 cups icing sugar
 2 tbsp milk, (approx.)

Topping:
4 oz semisweet chocolate, chopped
1 tbsp butter

Preparation:
In bowl, stir together graham crumbs, coconut, walnuts, cocoa powder and sugar. Drizzle with butter and egg; stir until combined. Press crumb mixture into parchment paper–lined 9-inch (2.5 L) square metal cake pan.

Bake in 350°F (180°C) oven until firm, about 10 minutes.

Let cool in pan on rack.

Filling: 
In bowl, beat together butter, custard powder and vanilla. Beat in icing sugar alternately with milk until smooth, adding up to 1 tsp (5 mL) more milk if too thick to spread. Spread over cooled base; refrigerate until firm, about 1 hour.

Topping:
 In heatproof bowl over saucepan of hot (not boiling) water, melt chocolate with butter. Spread over filling; refrigerate until almost set, about 30 minutes. With tip of knife, score into bars; refrigerate until chocolate is set, about 1 hour.

(Make-ahead: Wrap and refrigerate for up to 4 days or overwrap in heavy-duty foil and freeze for up to 2 weeks.) Cut into bars.

Adapted from here 

Baking My Way: Cherry Chocolate Kisses


These are some tasty cookies! As you can see, they went quickly! I highly suggest them and they're pretty easy to make too!

1 cup powdered sugar
1 cup butter
2 teasp. maraschino cherry juice
1/2 teasp. almond extract
few drops red food coloring
2 1/4 cups flour
1/2 teasp salt
1/2 cup maraschino cherries, drained and chopped
approx 48 extra large chocolate chips or 48 chocolate kisses
  •  combine sugar, butter, cherry juice, almond extract, and the food coloring. blend well
  • lightly spoon flour into measuring cup. mix in the salt
  • mix flour mixture with the butter mixture
  • add cherries
  • shape into 1'' balls. place 2'' apart on a lightly greased cookie sheet
  • bake at 350' for 8-10 mins
  • immediately after baking top each cookie with a kiss. press down firmly.. remove from cookie sheets

Sunday, 25 November 2012

Baking My Way: Peanut Butter Macaroon Brownie

Looks pretty tasty right? Two of my favorite things put together; chocolate and coconut. The brownie was pretty dry so I would add maybe some more butter, or apple sauce in it next time, but other then that it was very good! (Also, next time, I think I would put a layer of chocolate frosting on top of the coconut layer. YUM!!)

Brownie 
2 cups sugar
1 cup butter
1 1/4 tsp vanilla
1 1/2 cup flour 
2/3 cup cocoa
1 cup peanut butter chips 


Topping 
1 can (14 oz) sweetened condensed milk 
2 2/3 cup coconut 
1 cup chocolate chips

Heat oven to 350. 

Grease 15 x 10 x 1 baking pan. 

Combine sugar, butter and vanilla; beat until light and fluffy. 

Add eggs 1 at a time.  Beat after every addition. 

Add flour and cocoa; mix well. 

Stir in peanut butter chips. Spread in greased pan. 

Combine topping ingredients. 

Spoon topping over brownie; spread carefully. 

Bake for 27-32 minutes or until topping is light golden brown. Cool 1 hour or until completely cooled. Cut into bars.

(I ended up having to cook it another 15 minutes because the brownie was still very doughy) 

Baking Goal: Coconut Macaroon Brownie Bites

How decadent do these look? I think I'll save making these for a really chilly winter day where I know we are going to curl up and watch a movie. These would make a great treat!
Check out the recipe at Inside BruCrew Life

Saturday, 24 November 2012

Baking My Way: Chocolate and Vanilla Chip Biscotti

Finally I got biscotti right! I'll be honest, I don't really like the stuff. I like chewy soft baking, not crunchy stuff like this but there were around 5 biscotti recipes in this book so I had to do them all! I think this might be the last one and I got it right finally (I seemed to always under or over bake). This biscotti is pretty good. It's nice and chocolaty and the vanilla chips add a good sweetness in there.

Ingredients:
2 1/2 cups flour
1/3 cup unsweetened cocoa
3 teaspoons baking powder
1/2 cup sugar
1/2 cup brown sugar, packed
1/4 cup butter or 1/4 cup margarine, softened
3 eggs
1 cup white vanilla chip

Directions:
Heat oven to 350 degrees Fahrenheit.

Spray cookie sheets with nonstick cooking spray.

In medium bowl, combine flour, cocoa and baking powder; mix well.

In large bowl, combine sugar, brown sugar and butter; beat until blended.

Add eggs; beat well.

Add flour mixture; mix well.

Stir in vanilla chips.

With sprayed hands, shape dough into three 7" rolls.

Place rolls 3" apart on sprayed cookie sheet; flatten each to 7" x 3" rectangle.
 
Bake at 350 degrees Fahrenheit for 22 to 28 minutes or until set and light golden brown.
 
Remove from cookie sheet; place on wire racks.
 
Cool 5 minutes.
 
With serrated knife, cut rectangles into 1/2" slices.

Arrange slices, cut side up, on ungreased cookie sheet.

Bake at 350 degrees Fahrenheit for 6 to 8 minutes or until top surface is slightly dry.

Turn cookies over; bake an additional 6 to 8 minutes or until top surface is slightly dry.

Remove from cookie sheets; cool 15 minutes or until completely cooled.

Store in tightly covered container.

Source

Thursday, 15 November 2012

Christmas Baking List


Baking My Way: Chocolate Ginger Zebras

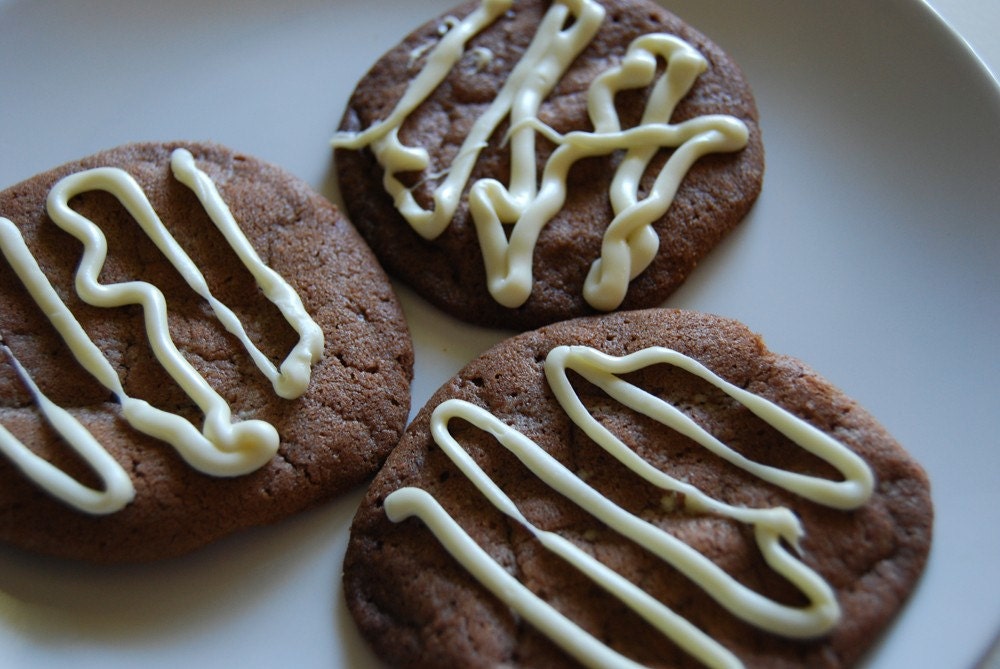
Nutella cookies w/white chocolate drizzle 1 dozen

I'll be honest, these Pillsbury Chocolate Ginger Zebras cookies aren't very interesting. They're a little dry and fall apart very easily. So what I ended up doing was using some left over chocolate frosting and making sandwich cookies out of these. And you know, wow, it made them 100% better and the different spices and ginger really popped and added a good flare to all the chocolate. I wouldn't make this cookie again as is in this recipe but I would make them again in the sandwich cookie form.

Ingredients

  • 1/4  cup sugar
  • 1/3  cup shortening
  • 1/4  cup unsweetened cocoa
  • 1/4  cup dark corn syrup
  • 2  tablespoons milk
  • 1  egg
  • 1 1/2  cups All Purpose or Unbleached Flour
  • 1/2  teaspoon baking soda
  • 1/2  teaspoon baking powder
  • 1/2  teaspoon ginger
  • 1/2  teaspoon cinnamon
  • 1/8  teaspoon cloves
  • 3  oz. vanilla-flavored candy coating
  • 2  tablespoons shortening

Directions

  1. 1In large bowl, beat sugar and 1/3 cup shortening until light and fluffy. Add cocoa, corn syrup, milk and egg; blend well. Lightly spoon flour into measuring cup; level off. Stir in flour, baking soda, baking powder, ginger, cinnamon and cloves; mix well. Cover with plastic wrap; refrigerate 1 1/2 to 2 hours for easier handling.
  2. 2Heat oven to 350°F. Lightly grease cookie sheets. On floured surface, roll dough to 1/8-inch thickness. Cut with floured 2 1/2 to 3-inch cookie cutter. Place 1 inch apart on greased cookie sheets. Bake at 350°F. for 6 to 9 minutes or until set. Immediately remove from cookie sheets. Cool.
  3. 3In small saucepan, melt candy coating and 2 tablespoons shortening over low heat, stirring constantly. Drizzle over cooled cookies. Allow to set before storing.

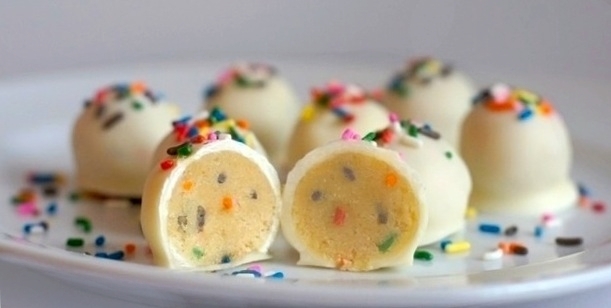
Truffles, Truffles, Truffles!


Oreo Truffles


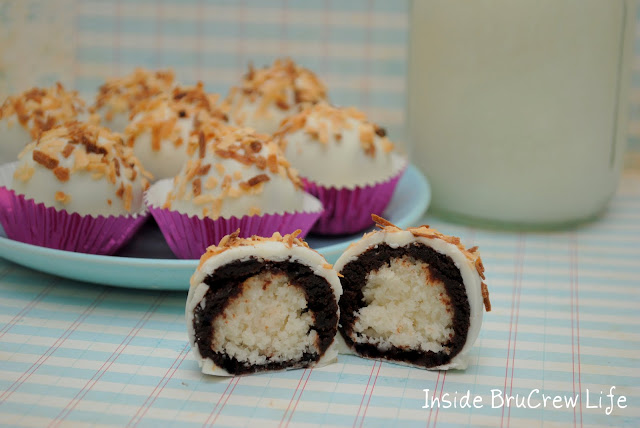
  Coconut

alisapbtruffle

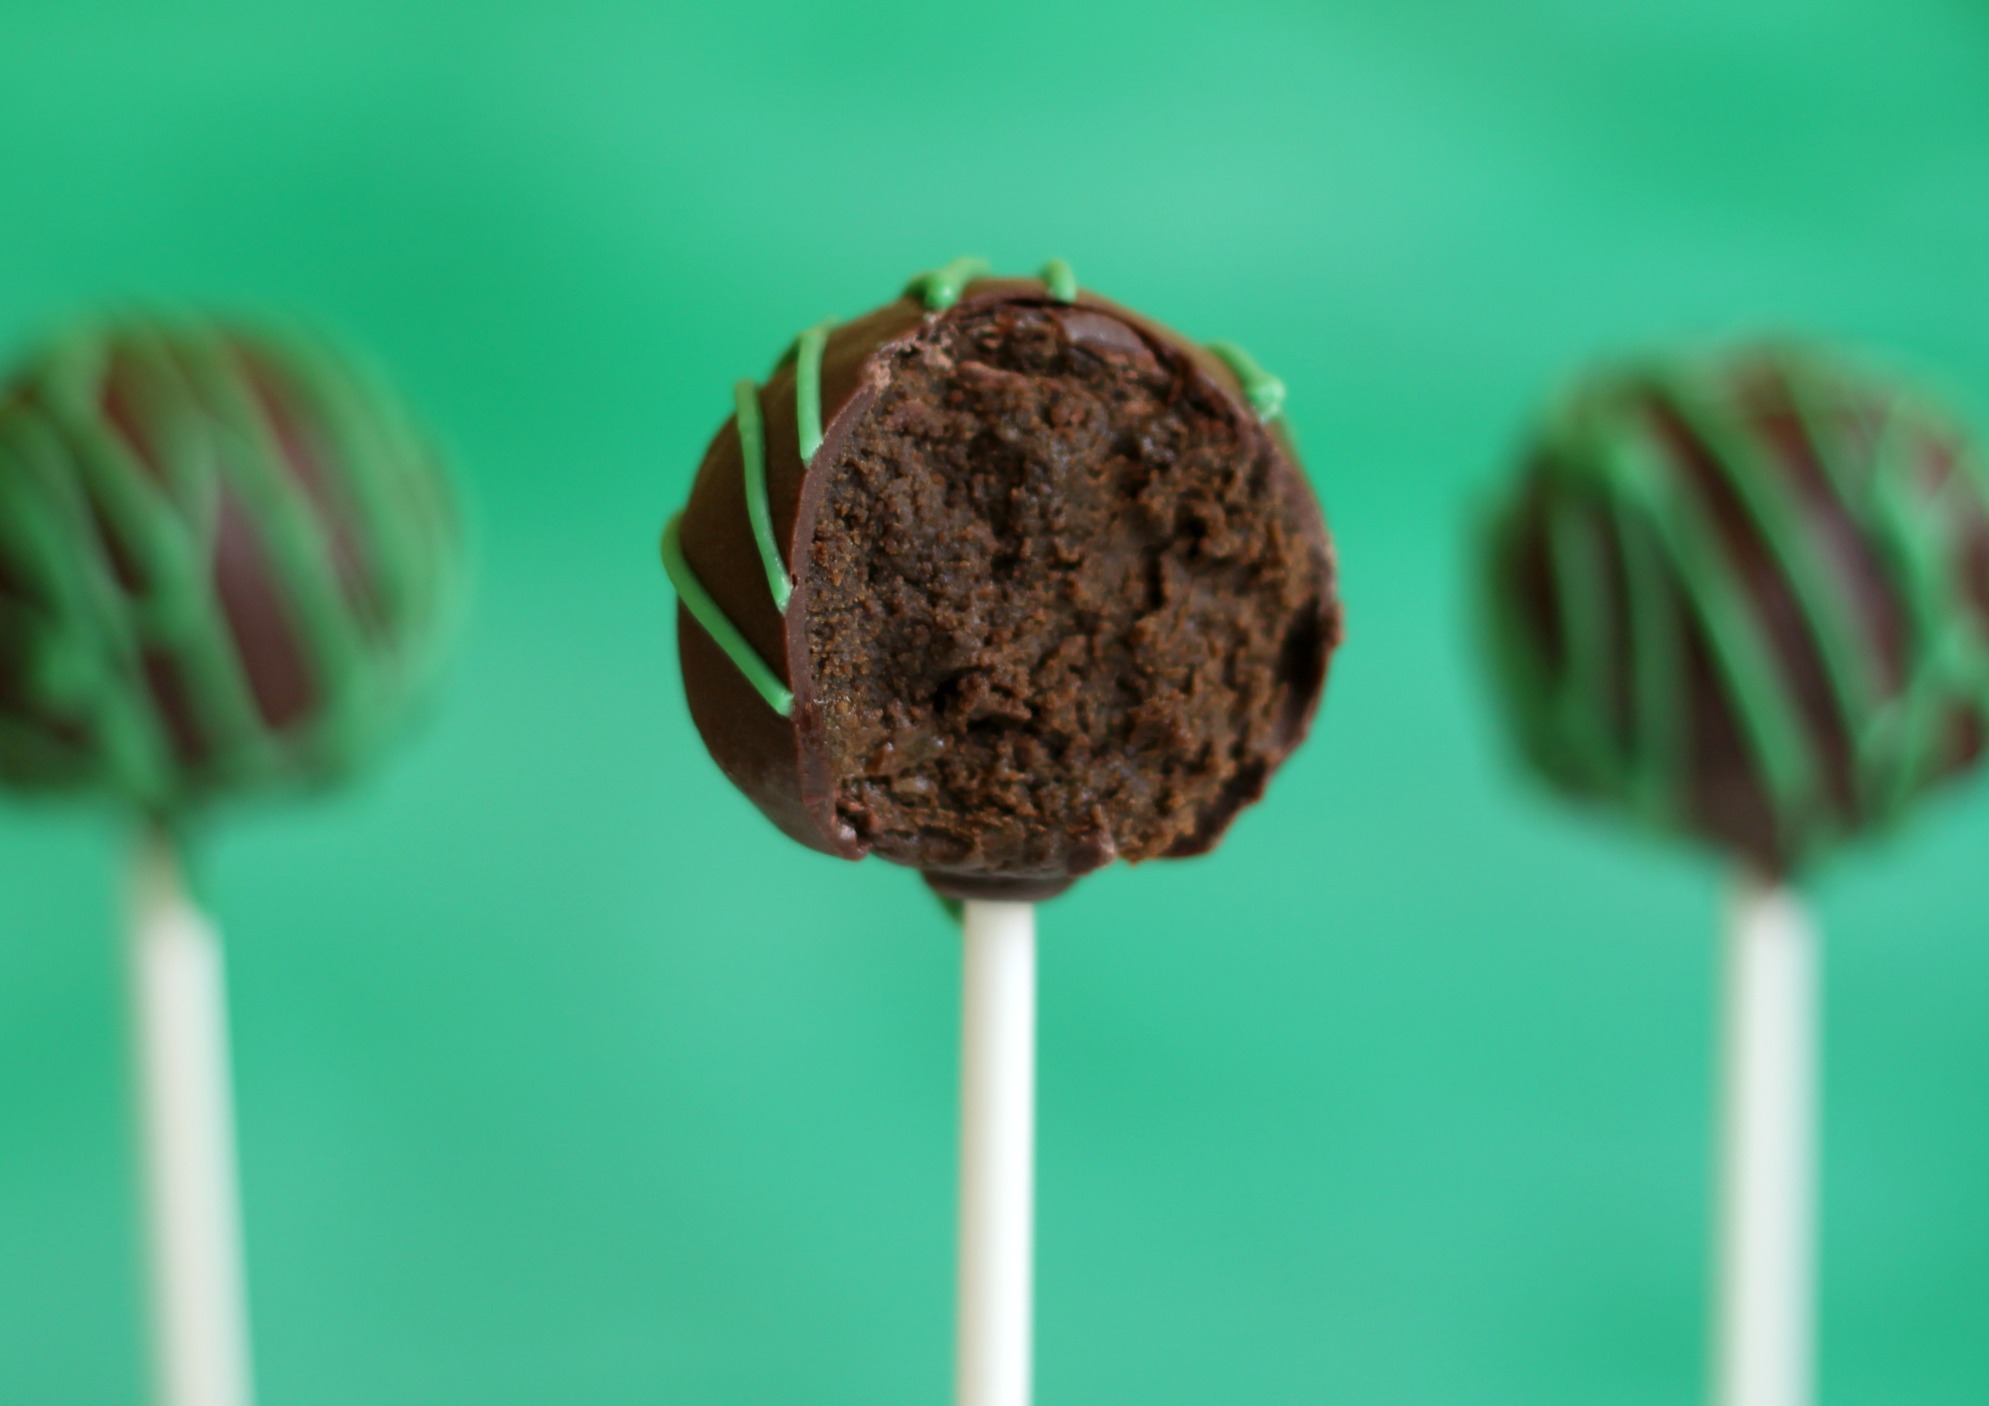
  Thin Mints 


How to temper chocolate

 So I made these last nigh!! YUM!! I had never tempered chocolate before and so I'm pretty proud of my first go! If you've ever wondered how to do it here you go!

Chop your chocolate. It is best to use at least 1 pound of chocolate, as it is easier to temper (and retain the temper) of larger amounts of chocolate. If this is more than you need, you can always save the extra for later use. Be sure that your chocolate is in block or bar form, not chocolate chips. The chips have additives that allow them to retain their shape at higher temperatures, and so they will not temper properly.

Melt 2/3 of your chocolate. Place it in the top of a double boiler, set over simmering water. Securely clip a chocolate or instant-read thermometer to the side of the boiler to monitor the chocolate’s temperature.

Stir gently but steadily as the chocolate melts and heats up. Use a rubber spatula, not a wooden or metal spoon.

Bring the chocolate to 115 degrees Fahrenheit (46 C) for dark chocolate or 110 degrees Fahrenheit (43 C) for milk or white chocolate. Do not allow the chocolate to exceed its recommended temperature. When it is at the right temperature, remove it from the heat, wipe the bottom of the bowl, and set it on a heat-proof surface.

Add the remaining chunks of chocolate and stir gently to incorporate. The warm chocolate will melt the chopped chocolate, and the newly added chocolate will bring down the temperature of the warm chocolate.

Cool the chocolate. Once the chocolate gets below 84 degrees F (29 C), remove the remaining chunks of chocolate. They can be cooled, wrapped in plastic wrap, and saved for another use.

Reheat the chocolate briefly. Place the chocolate bowl over the warm water in the double boiler for 5-10 seconds, remove it and stir, and repeat, until the temperature reaches 88-89 degrees F (31 C), or 87 F (30 C) for milk and white chocolate. Do not leave the chocolate over the hot water, or allow it to exceed 91 degrees.

Your chocolate should now be tempered! To make sure it has been done properly, do a spot test: spread a spoonful thinly over an area of waxed paper and allow it to cool. If the chocolate is shiny and smooth, it is properly tempered. If it is dull or streaky, it has not been tempered correctly.

Source

Wednesday, 14 November 2012

Chocolate Guinness Cake


Oh yum!! I'm not a beer drinker but I think I would really like this cake! Check out the recipe here.

Biscoff Candy Fudge Bars

Doesn't this look wonderful? I'm a sucker for anything that's got fudge, chocolate and defiantly Biscoff in the name! I don't even know where to buy these in Canada but I love them so much! Check out the recipe here.

Tuesday, 13 November 2012

Chocolate Fudge Pie

Doesn't this look great!? AND the recipe is so simple! Check it out here.

Saturday, 10 November 2012

Baking My Way: Chocolate Almond Linzer Bar


 This bar is super tasty! I love this bar! I didn't use raspberry preserver but cherry and apple butter and it gave it a little tart taste which went really well with the dark semi-sweet chocolate I used. I love the almond paste in this bar and it really adds to the richness of the dough. It makes it more dense but I sort of like it that way! I would make it again.

3 1/2 oz. almond paste
1/2 cup butter
1/2 cup sugar
1/2 cup firmly packed brown sugar
1/4 tsp salt
1 tsp almond extract
2 eggs
3 cups flour 
1 1/2 cups raspberry preserves
1/2 cup sliced almonds
1/2 cup chocolate chips
1 tsp icing sugar

Hear oven to 350. Grease 15 x 10 x 1 inch baking pan. Combine almond paste and butter, blend until smooth. Add sugar, brown sugar, salt, almond extract and eggs; mix well. Add flour gradually, stirring to form a smooth dough.

Divide dough in half. Roll out half of dough between 2 sheets of waxed paper to form 15 x 10 inch rectangle. Remove top sheet of waxed paper. To make decorative top cut hearts or circles in the one layer of the dough. Return cut outs to other half of the dough. Set top dough layer aside.

Roll out other layer same as first layer, then press it into greased baking pan.  Bake for 10 minutes. Cool 5 minutes. 

Spread evenly with preserve; sprinkle with almonds and chocolate chips. Lifting top crust with wax paper, place dough side down over filling; carefully remove wax paper. Trim edges if necessary.

Bake at 350 for additional 20 - 25 minutes or until golden brown. Cool 1 hour. Sprinkle with icing sugar. Cut into 48 bars with heart cut out in the middle of each bar.

Thursday, 8 November 2012

Baking My Way: Chocolaty Caramel Pecan Bars


 This bar was seriously good!! I would make it again and again! I think I would reduce the amount of caramels because and have no nuts, more like a Twix bar. It's crazy rich but I see why you need all the nuts, it makes it a little less intense. Either way, so good!!
Base
1/2 cup powdered sugar
1/2 cup butter or margarine, softened
1 tablespoon whipping cream
1 cup all-purpose flour
Filling
24 caramels, unwrapped
1/3 cup whipping cream
2 cups pecan halves
Topping
1 teaspoon butter or margarine
1/2 cup milk chocolate chips
2 tablespoons whipping cream
  • Heat oven to 325°F. Grease 9-inch square pan. In medium bowl, mix powdered sugar, 1/2 cup butter and 1 tablespoon whipping cream until well blended. Add flour; mix until crumbly. With floured hands, press mixture evenly in pan. Bake 15 to 20 minutes or until firm to the touch.
  • Meanwhile, in medium saucepan, place caramels and 1/3 cup whipping cream. Cook over low heat, stirring frequently, until caramels are melted and mixture is smooth. Remove from heat. Add pecans; stir well to coat. Immediately spoon over baked base; spread carefully to cover.
  • In small saucepan over low heat, melt 1 teaspoon butter and the chocolate chips, stirring constantly. Stir in 2 tablespoons whipping cream. Drizzle over filling. Refrigerate 1 hour or until filling is firm. For bars, cut into 6 rows by 4 rows.  

Chocolate Pumpkin Mousse Cake


How amazing does this look??? I know we're past Canadian Thanksgiving but we're pretty close to American Thanksgiving right? Check out the recipe here!

Monday, 5 November 2012

Puppy Chow

MomsWhoThink-Puppy-Chow-Recipe


I've come across a lot of people that don't even know what Puppy Chow is!!! I find that so crazy!!! SO I thought I'd post a little photo/link reminder or (for some) education! Check out the recipe here! I think once you've made it you'll forever be hooked!!
Related Posts Plugin for WordPress, Blogger...